How to create Business flyer in Photoshop (.PSD)
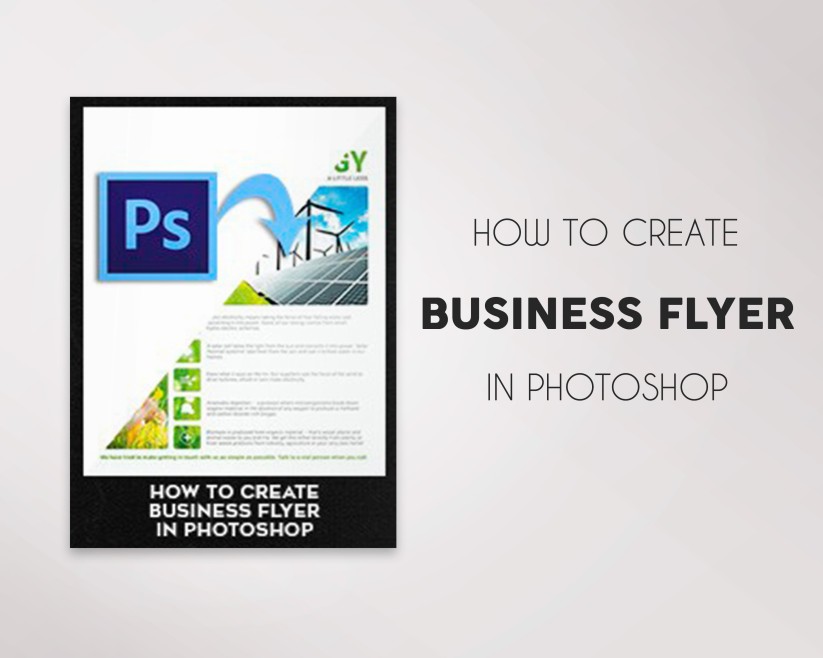
Statistics says that 90% of purchases are committed thanks to advertising campaigns. Any flyer can become ready for digital printing. It is important not to forget about the requirements for printing.
Business flyers can be used for implementation of many different ideas, for promoting any products, events and special offers, for telling your clients about sales and discounts and of course for inviting new customers and make your business more popular.
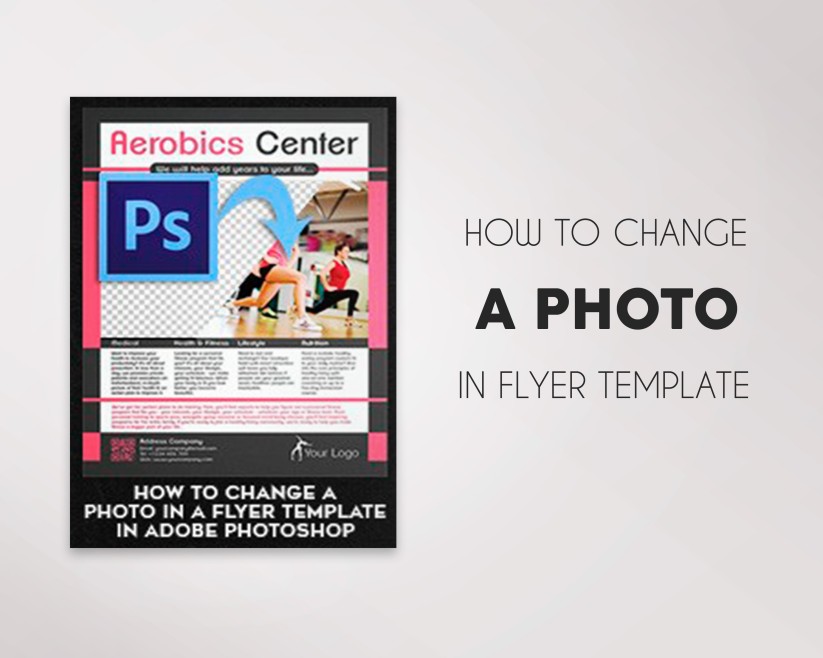
If you don’t have sufficient experience for Photoshop or if you want to know much more information about customizing templates you can look though this article. Following the next steps like in this article you will be able to understand many nuances and complexities of Photoshop.
What will you learn from this post?
- You will understand what sizes, color modes and resolutions our designers usually use for creating only the best templates.
- You will get many clear instructions from the very beginning of the creation of a flyer.
- Adding shadows to objects won’t be a problem for you any longer.
- Get an easy way how to add logos, titles, text and icons spending only a few minutes.
- If you didn’t know before how to use some instruments it won’t be a problem to find the explanation in this article.
- In the end you will really surprise that customizing and creating flyers for business it isn’t a hard work and even junior designer or Photoshop user can achieve any goals!
Possibilities of Photoshop are really endless. It is possible to take ready-to-edit flyers templates from our website that have a very professional structure and layers organization.
And of course, don’t forget about the main rule. Don’t give up, be patient and be inspired! We are sure that’s it isn’t difficult to understand our explanations. That’s why we were tried to make them easy, very detailed and structural. Hope this article will be useful for you now and in future. Enjoy and get only the best results!
Create a New Document
Step 1
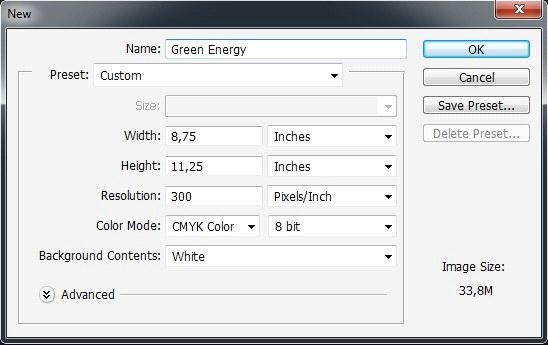
At the beginning it is necessary to create a document with correct dimensions and parameters for printing. Create a new document in Photoshop using such dimensions: 8,75х11,25 Inches. This is a standard size with allowances 0,25 Inches. Being that we create our flyer for printing it is necessary to set CMYK color mode and resolution up to 300 dots / inch.
Step 2
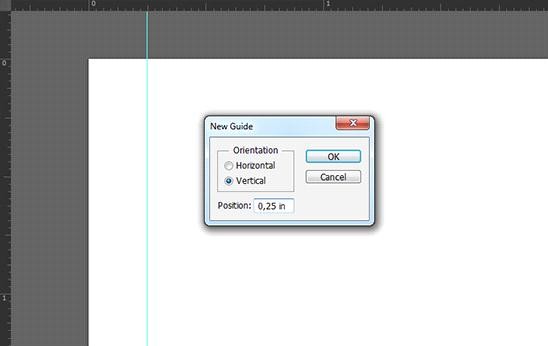
Create new guides that will indicate the area to crop flyer. For creating guides go to “View >> New Guide…” and select an item 0.25 pcs along the vertical.
Step 3
Repeat these steps for all of the edges of the document. Make sure that each guide is located in 0,25 in from the edge of the document.
Creating a background
Step 1
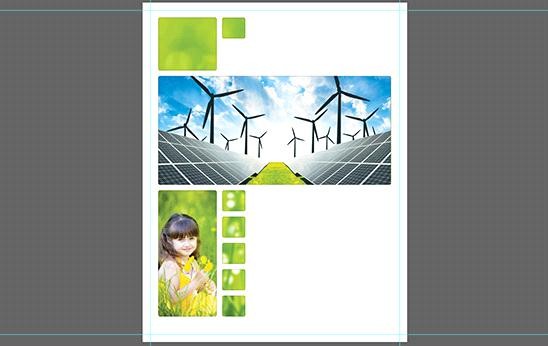
Create a place for the logo in the upper left corner. For this it is necessary to use the instrument “Rounded Rectangle Tool”.
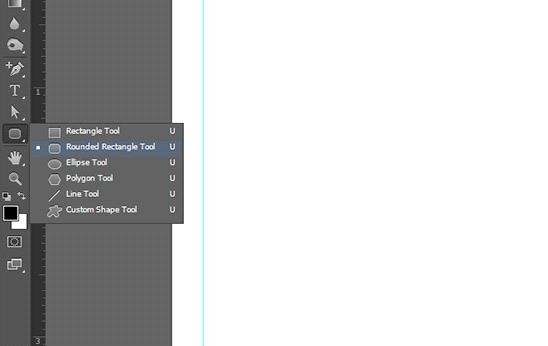
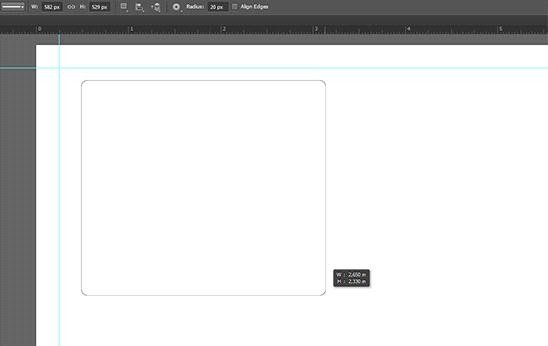
Create a rectangle with a radius of 20 px in the corners. If you want to have straight sides of the rectangle you need to hold down the Shift key.
Step 2
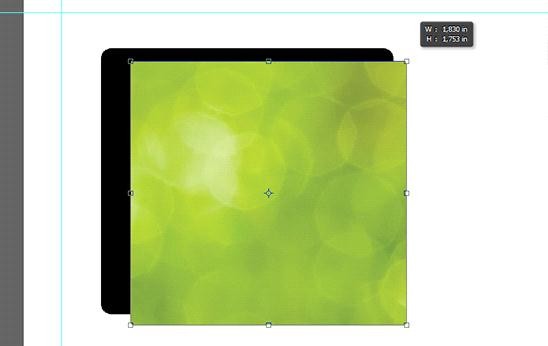
Place the background image inside the rectangle. For this it is necessary to open an image “File >> Place…”. Choose the necessary picture.
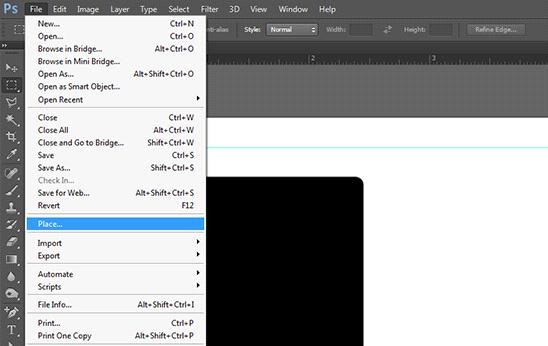
Place the image over the rectangle and, if necessary, scaled it to a size of your rectangle. Hold down the Shift key to be able not to stretch the image but scaled it in proportions.
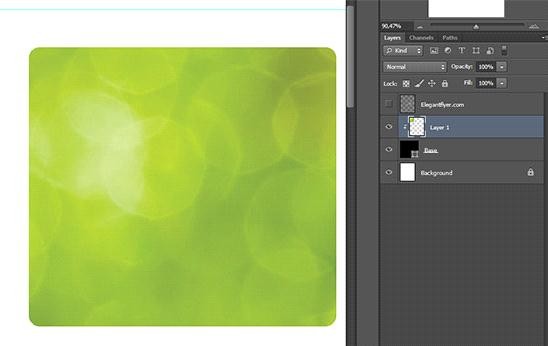
After this go to the tab “Layers” and holding down the Alt key, click the left mouse button between the layers of the image and the rectangle. If you can’t find this tab go to “Window >> Layers” or press F7 button.
Step 3
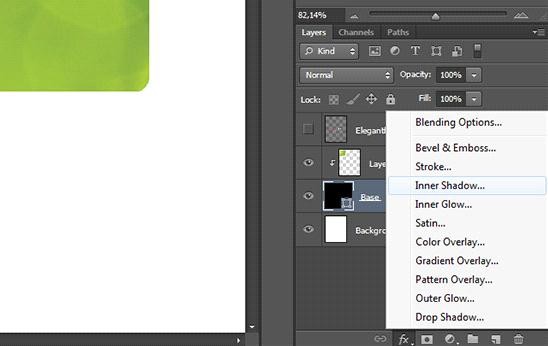
To give depth to the rectangle you need to add some inner shadow to the rectangle. For this choose rectangle in the layers and click at the bottom “Add a layer style”. Than choose “Inner Shadow…”.
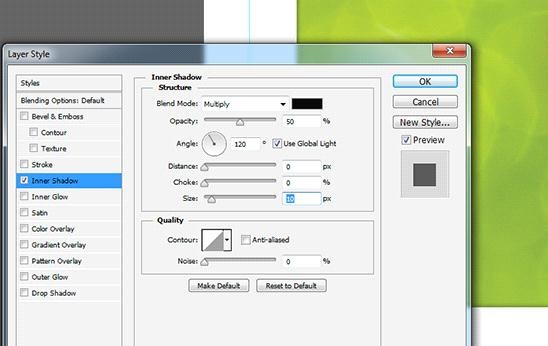
Set the values Opacity: 50 %, Distance: 0 px, Choke: 0 % и Size: 10 px.
Step 4
Repeat all these steps for the remaining rectangles.
Adding icons
Step 1
Now place the icons in the appropriate rectangles. You can import as ready-made icons as draw them yourself. Importation can be done on the principle of adding the image, as it was described above. To draw an icon from the ground up at the beginning use the tool “Ellipse Tool”.
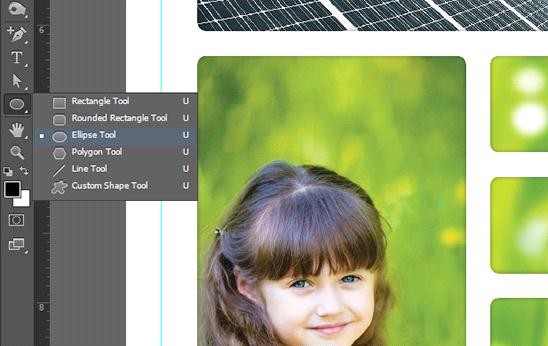
Draw a circle holding down the Shift key.
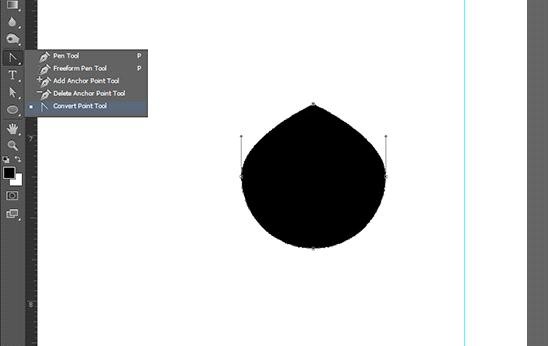
Step 2
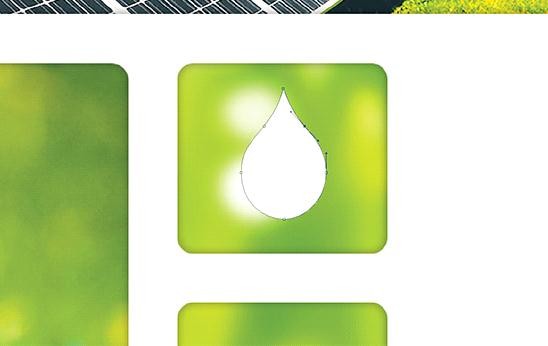
Activate the instrument “Convert Point Tool” and click with left mouse button on the top point of the circle. Move the top point upwards using “Direct Selection Tool”.
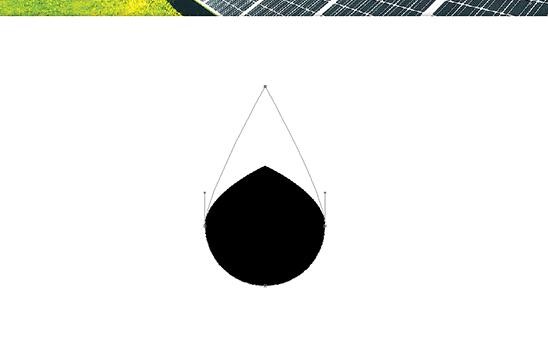
Step 3
Add new points to the figure using the instrument “Add Anchor Point Tool” and slide them a little toward the center giving it a shape of drop with the help of “Direct Selection Tool”. After this move it to the right place and fill with white color.
Step 4
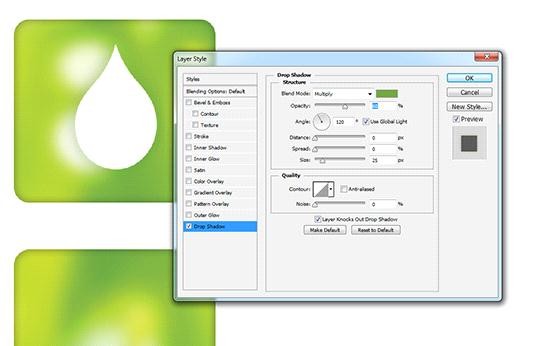
Create an outer shadow. Choose an icon in layers and click the button “Add a layer style”. After this – “Drop Shadow…”. For the shadow to be softer take green color. Opacity: 60 %, Distance: 0 px, Choke: 0 % и Size: 25 px.
Step 5
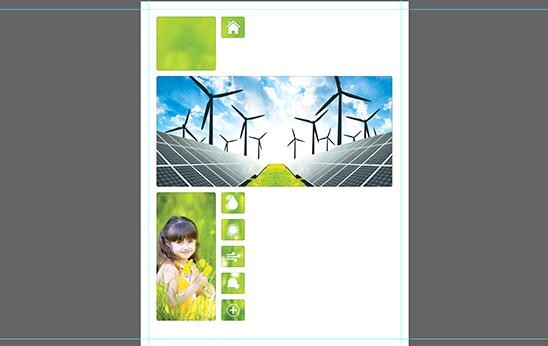
Place other icons to the document.
Adding text and logo
Step 1
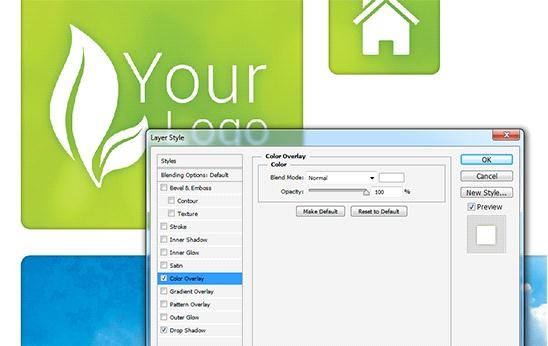
Open a logo “File >> Place…” and put it to the right place. Create the same shadow for it as for icons. For this you need to click the button “Add a layer style” and after this “Drop Shadow…” and select the appropriate options. In this window also choose “Color Overlay” and fill logo with white color.
Step 2
Put the header text by using the instrument “Horizontal Type Tool”. Choose the font “Roboto” and scale it to the necessary size being guided on rectangles.
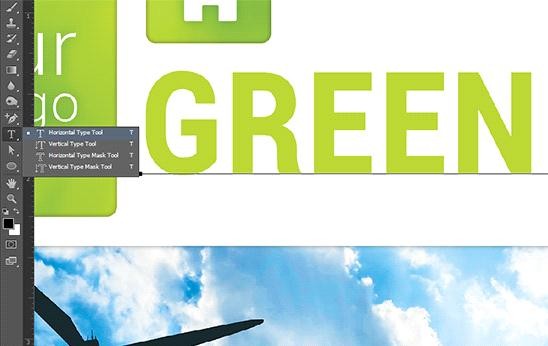
Step 3
Add some inner shadow and an image the same way as with the rectangle.

Step 4
Add contact information. Select the desired area for your text using the instrument “Horizontal Type Tool”. And fill it after aligning the text on the left. Set the size 10 pt in the “Character” tab and change the color of the font to grey (C = 55 M = 45 Y = 45 K = 10). The address appears in bold.
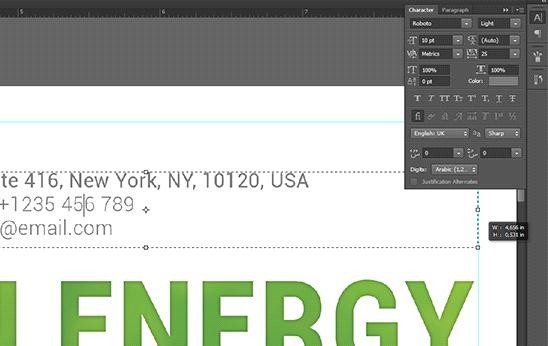
Step 5
Repeat the same manipulations for the rest of your text aligning it with respect to rectangles. You can use the guides to the accuracy of text alignment. Don’t forget to remove unnecessary ones before sending it to the printing company.
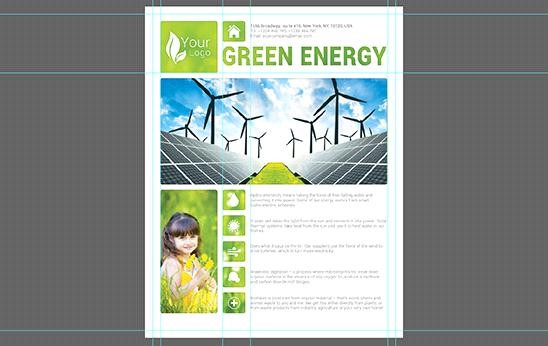
Step 6
Add a slogan text and lower text selecting them. Set green color to the bottom text and make it bold (C = 60 M = 10 Y = 100 K = 0).
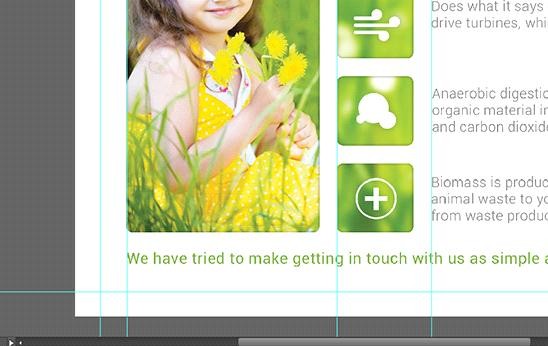
Congratulations! You have made a good design of business flyer.
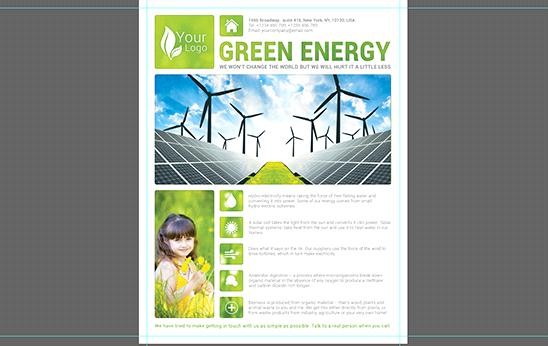
And remember, when you design documents for digital printing, do not forget about the requirements for printing. If you don’t know about some of them it would be better to have some consultations with the company that will print the document.

