How to Customize a Free Brochure Template in Photoshop

Step 1
In order to start the brochure template customization, we need to select a brochure. Go to elegantflyer.com and pick the brochure that fits your business needs. We have picked a free “Bus Travel” trifold brochure. You can find it under the menu All Freebie, in the category Free Brochures (/free-psd-brochure-templates/free-bus-travel-tri-fold-psd-brochure-template/).
If you are looking for specific brochure templates, you can find them in our special categories «Tri-fold Brochures» and «Bi-fold Brochures».
Step 2
Once you have selected the right brochure, click on it in order to view a description and access source files. Under the description, you will find nonstandard fonts. Click on the link to download them. In order to add fonts and continue working with them, we need to find them first (in this particular case we will add fonts via Windows 7).
Go to “Start”, click on “Control Panel”, then click on «Appearance and Personalization» and choose «Fonts». Move the downloaded fonts from the zip-archive. Don’t move other documents here, for example, the whole archive.
Step 3
Now let’s download the brochure. Click on the «free psd download» on the right side of the preview page of the brochure (in paid sections this button is replaced by «Premium Download»). Wait 15 sec and download an archive to your local disk.
Step 4
We have our brochure and fronts downloaded, now you need to customize it to fit your needs. Let’s first unpack the downloaded zip-archive and open the front-end part of the brochure in Photoshop (Travel_tri_fold_Broshure_lic.psd). If you don’t have Photoshop on your desktop, download and install it.
Step 5
Website logo removal. Once you opened a file, you will find a brochure with a website logo over it. In order to remove it and start with its customization, go to the tab “Layers” (click on the “Window” in the actions panel and put a check mark on “Layers”, or click on F7 on your keyboard, if you don’t have “Layers” tab in your actions panel) and shut it off, by clicking a left button of mouse on the eye next to the first layer.
Step 6
Text customization. Find the “Horizontal Type Tool” and click on the text you want to edit. In case you see the notification about the absence of a font, you might have done a mistake when adding fonts to your operating system. You need to add fonts once again (the notification will tell what font is missing).
Edit the name of a brochure (for example, instead of Bus Travel write Cheerful Tour). Continue editing all the text in a brochure.
In our case, the text takes more space than expected, so we have resized the font, made it smaller with the help of the actions panel above. You can also change the color and position of the text. Using the “Move Tool” and choosing the needed text layer, you can move text to any position. Before you start to edit text, don’t forget to highlight the needed text with the help of a mouse or a shortcut combination “Ctrl+A”. Edit the rest of the text the same way.
With the help of the “Move Tool” (don’t forget to choose the right layer) let’s switch description and contacts and change the color of the text.
Step 7
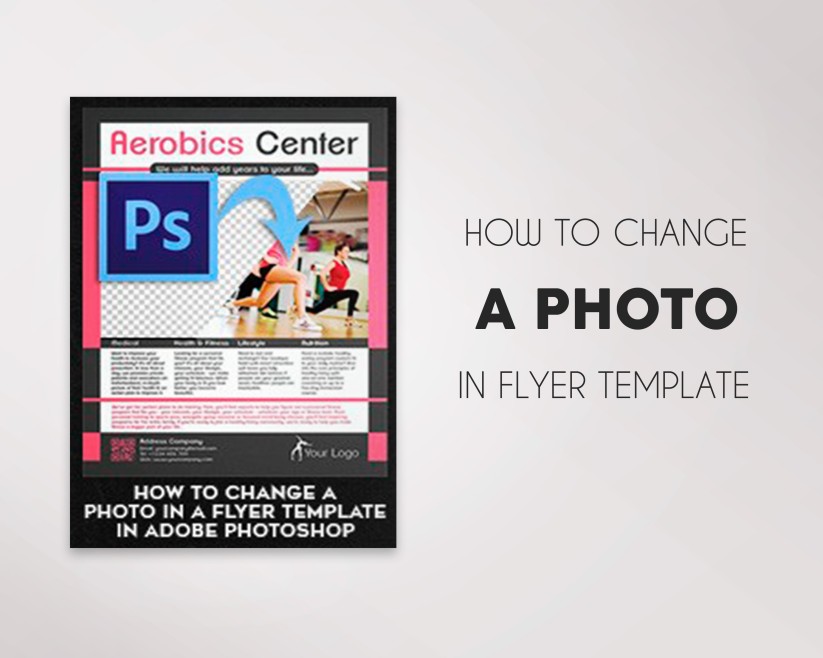
In order to change an image in the brochure, you need to find the folder “Photo” or “Objects” in the layers. You will find smart objects, which can be easily edited with the help of a double click on the thumbnail of a layer or by clicking the right button of a mouse on a layer text and choosing “Edit contents”.
After you have opened the smart object, replace it to the needed one. Open the tab “File” in the menu panel and choose “Place…”. Select the needed image on your local disk and click on the “Place” button. If you don’t like the position or the size of the image, you can easily edit it. Choose the “Rectangular Marquee Tool”, click the right mouse button on the image and select “Free Transform”. Now you can change the position and size to whatever you want. If you don’t want to change the aspect ratio, press the shortcut combination of “Shift” and a left mouse button and pull the image angle in the direction you need. Once you have successfully placed an image, close it. Save it prior closing by clicking on “Yes”.
Now you can see that the logo is not in the right place. Let’s move it lower and change its color. In this particular brochure, the logo is designed in vector and needs to be edited in Illustrator. You can change the color in Photoshop, by clicking on the layer blending (click the right mouse button on the layer, choose “Blending Options…” and click on the “Color Overlay”).
Change other images the same way.
The red logo doesn’t fit the design and color scheme. Let’s change its color. Also, let’s move some images with the help of the “Move Tool”. Al the images and objects are easy to edit and move.
Step 8
We are almost done. Let’s save all the changes. Open in the menu panel “File” tab and click on “Save”. If you want to save the changes in a separate document, click on “Save As…”, choose a folder where you want to save the doc and name it. You can print the result of your work in Photoshop by clicking “Print” tab in the menu panel or by clicking a shortcut combination “Ctrl+P”.
Step 9
Edit the second page of a brochure by following the same actions and voila! Congratulations with your first brochure template fully customized by you!


